
Foam Rolling 101
- Jessica Schnier

- Aug 31, 2022
- 3 min read
Updated: Oct 17, 2022

Most of my athletes have heard me say this by now… but I can’t reinforce it enough!
If you are a runner, you should foam roll every day!
Foam rolling can help relieve the muscle tightness that we build up throughout all of the miles, and less tightness means less chance of injury. It is not going to prevent every possible injury that can come your way, but it is a great insurance policy to avoid those aches that can eventually lead to injuries if we don’t take care of them.
On top of that, foam rolling is a great way to check in with your body. To me, the most advanced athletes are the ones that are in tune with their bodies, and foam rolling is one of the best ways that we can do that. It has happened to me time and time again; I go through my foam rolling routine, run through the motions, and all of the sudden, it hits me. “OUCH! My (insert muscle group here) is way tighter than normal.” For me, it’s often my calves, and sometimes my left butt cheek. Without that “check-in” with the foam roller, I would have continued on with my day and that tightness could quickly turn into an injury that would sideline me. When I find those tight spots, I’ll often foam roll it a little more directly and pinpoint the tight muscle until I get some relief, or even go in with a percussion massage gun to get a little more work in it.
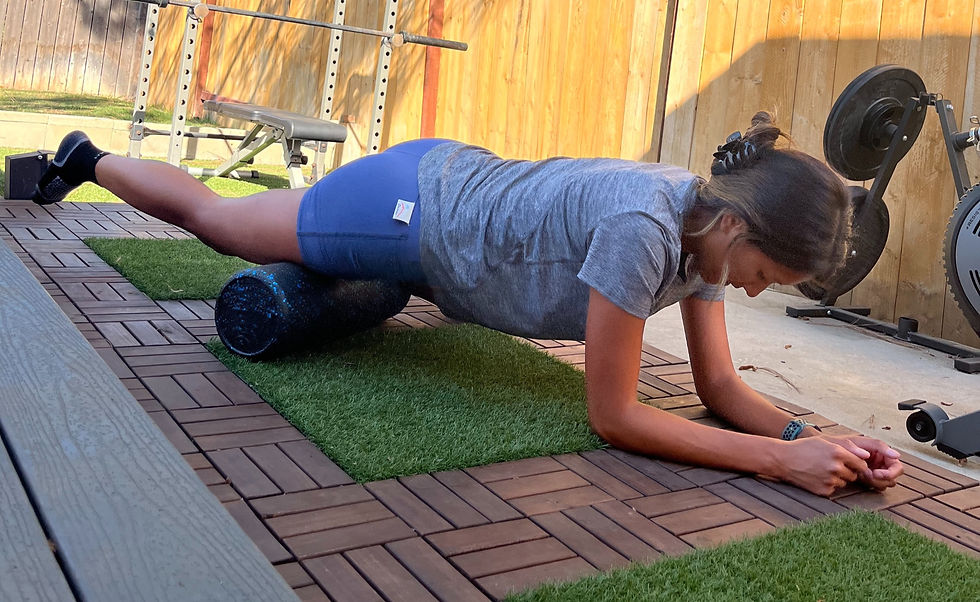
Here is a quick tutorial on foam rolling so you can incorporate it into your daily routine (if I haven’t harassed you into doing it already). :-)
Find yourself a foam roller with a hard surface. It doesn’t need to be fancy or expensive! I got mine for $15 on Amazon. Ideally, use it for 5-10 minutes after your run, but it is also great to do before bed while watching TV. Avoid foam rolling before a run, stick with a dynamic warm-up and percussion massage gun instead.
Start by foam rolling each muscle group for about 1 minute each, but you’ll quickly learn which areas feel like they need more attention than others - spend more time on the tight areas.
In no particular order, here are the areas to foam roll:
Glutes: Roll up and down the middle of each butt cheek (we have no filter here, folks!), and then move laterally to foam roll the sides of each glute, too.


Back: Start with your lower back, rolling up and down with the direction of your spine. You can then move up to your upper back and shoulders, which usually feels great!


Hamstrings: Start right below your butt, foam rolling down to just above the back of your knees. You can either do both legs at once or one leg at a time to get more pressure on the muscle.


Calves: This one is important! Tight calves are common, but shouldn’t be a normal occurrence. Start by rolling up and down the center of your calves. Then angle your foot inwards to foam the medial part of your calf. Last, angle your foot outwards to foam roll the lateral part of your calf. Again, you can either do both legs at once or one at a time to get a more targeted experience.


Quadriceps: Foam roll starting right at your hip crease and all the way down to right above your knee. This is another one you can do with both legs or one at a time.
Inner Thigh/Groin: This one looks funny. Start at your groin, and roll all the way down to just above your knee, medially.

IT Band: This is another very important one. Start right at the outer part of your hip, and roll down to just above your knee, laterally.

Shins: Roll up and down on the “meaty” part of your shins. This is another important one if you frequently get shin splints!


Comments